

The Right Way To Iron A Shirt For A Crisp, Professional Look

This is a detailed step-by-step guide on how to iron a shirt and achieve that crisp, professional look. Whether you're preparing for an important meeting, a special event, or simply want to elevate your everyday style, this guide will ensure your shirt looks flawless. For outstanding results, why not use a Morphy Richards iron? Renowned for our precision and quality, our irons are the perfect tool to help you achieve a perfectly polished finish. Follow these steps to bring out the best in your wardrobe!
Prepare Your Materials
-
Iron
-
Ironing board
-
A damp cloth or towel
-
Hanger
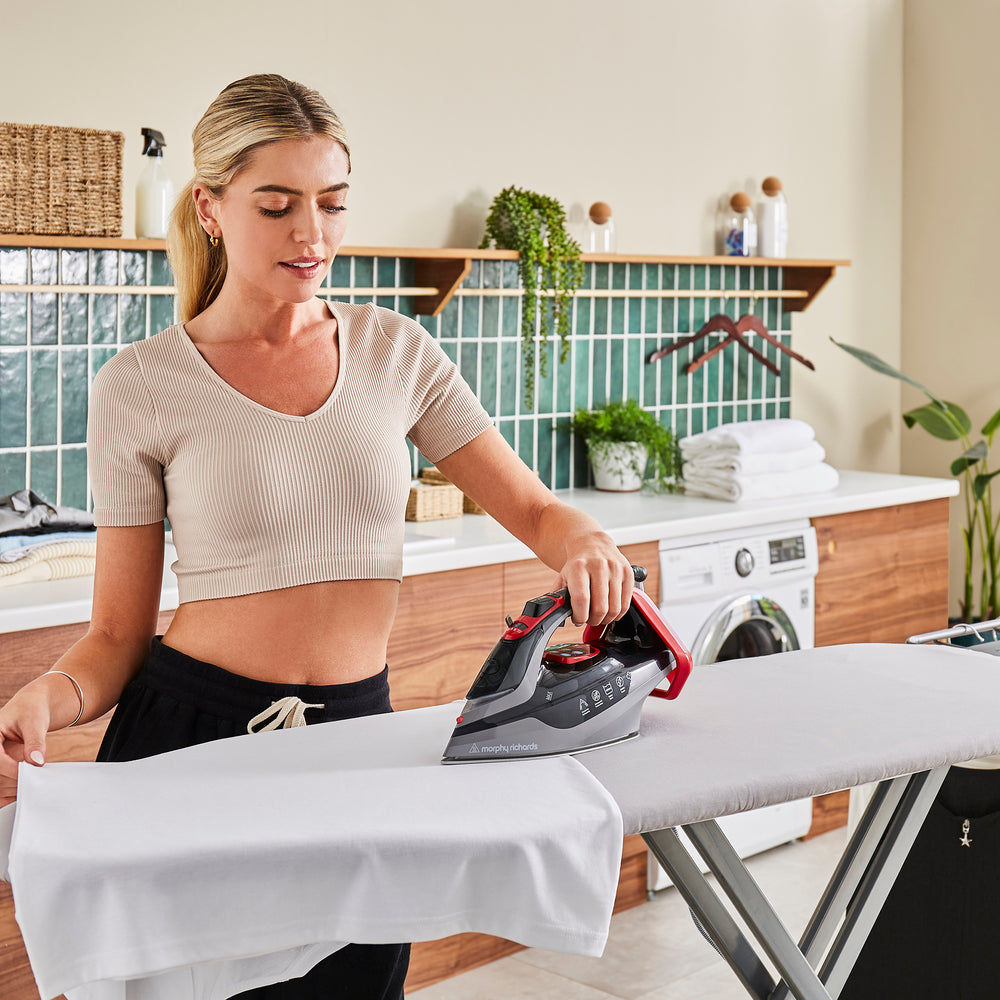
How To Iron A Shirt
Step 1: To make ironing the shirt easier, dampen it lightly with water. This will help soften the shirt and allow the iron to glide more smoothly. Then check the care label on the shirt to determine the appropriate heat setting for the fabric type. This will avoid damage.
Step 2: Begin by carefully ironing the collar, ensuring it is evenly pressed and free of any creases. Start at one end of the collar and work your way to the other. Make sure to smooth out any wrinkles, paying close attention to the points of the collar for a sharp, crisp finish. Ironing the collar first helps to set the foundation for the rest of the shirt, creating a neat and polished appearance.
Step 3: Next, move on to the yolk area of the shirt, which is the section around the shoulders and upper back. Begin by carefully positioning the fabric under the iron, ensuring it is smooth and free of any folds. Apply gentle, consistent pressure as you work your way across the yolk, ironing until the fabric is wrinkle free.
Step 4: Start with the cuffs by unfolding them and laying them flat on the ironing board. Carefully press each cuff, ensuring that it is smooth and sharp. Pay attention to both the inside and outside of the cuff to ensure an even finish. Now move on to the sleeves. Start at the shoulder and work your way down towards the cuff, using long, steady strokes to eliminate any wrinkles. Make sure to iron both the front and back of the sleeve, paying extra attention to the seams and any creases that might form along the edges.
Step 5: Move on to the body of the shirt. As you iron, be sure to carefully work around the buttons, using the tip of the iron to navigate the small areas around them without causing any damage. Take your time to press each section of the body thoroughly.
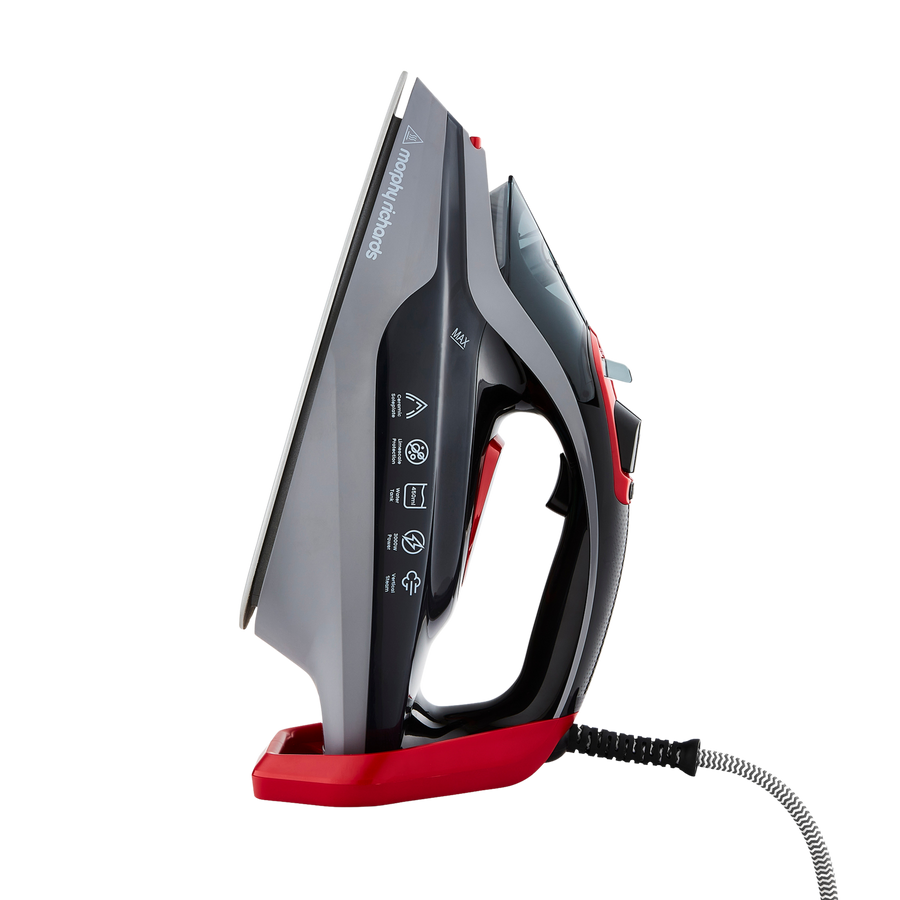
For this task, you could use our Power Steam Elite 3000W LED Steam Iron, a high-performance iron designed to make the job easier. With its advanced ceramic sole plate, the iron glides effortlessly over the fabric, providing a seamless ironing experience. The ceramic surface ensures that the heat is distributed evenly, while also helping to protect your shirt from any potential fabric damage.
Step 6: If your shirt has a pocket, iron it separately for a neat finish. Smooth out any creases and ensure the pocket lies flat. Position it on the ironing board, then use the tip of the iron to press around the edges and centre.
Step 7: Next, move on to ironing the back of the shirt, ensuring that every section is wrinkle free. It’s important to carefully press the shirt, working from the top to the bottom. For this step, you could use our Steam Flow 2400W Turbo Steam Iron as it has a steam Output of 35g/min. Which delivers a steady and powerful steam flow, making it easier to remove stubborn creases.
Step 8: The shirt is ready to be hung up to maintain its crispness. Simply hang it on a hanger to let it cool and set it in place. If, however, you forget to turn off your iron, there’s no need to worry because if you wanted to use a Morphy Richards iron like our Steam Flow 2400W Turbo Steam Iron it is equipped with an auto shut-off feature, which automatically turns off the iron after inactivity. This not only provides peace of mind but is also an energy-efficient feature.
Leave a comment