

General
Firstly, we are really sorry to hear this! For faulty appliances, we recommend firstly ensuring you have referred to your owner's manual and performed any troubleshooting. If this hasn't resolved the problem and the fault remains, check that your product is within the warranty period and return it to the place of purchase along with your receipt.
We are so sorry to hear that your product has arrived faulty!
Please get in touch with us within 7 days of receiving your order and we will be more than happy to help!
We are so sorry to hear that your product has arrived damaged!
Please get in touch with us within 48 hours of receiving your order and we will be more than happy to help!
If you have changed your mind regarding your order, you have 30 days from the date of purchase to make a return.
The product(s) must be in unused and in the original packaging.
In line with the Consumer Contracts (Information, Cancellation and Additional Charges) Regulations 2013 UK, you have fourteen calendar days to cancel the contract for your order with us.
You will need to get in touch with us to arrange this.
To track your order, please follow this link - https://morphyrichardsuk.aftership.com/
The details of your guarantee can be found in your owner's manual or alternatively on the product page on the website. We recommend registering your product after purchase to help reduce time if there is any issues.
Morphy Richards manuals are available on our website. The Instruction Manuals page houses both current and previous models that can be downloaded, alternatively all current product pages also have the product manual available to download.
Where possible, Morphy Richards products are made from BPA free materials and this information can be found on our product pages. Explore our products
Once you have registered your product you will receive an email confirming your registration for the extended guarantee period. If you purchased your product directly from our website, then we will automatically register your product for the extended guarantee period and then add another year in addition to this, as a thank you for shopping directly with us.
In the unlikely event that you have an issue with your product, simply contact our Consumer Service Team. You will need to retain your purchase receipt, if you have not uploaded it or bought the product directly from our website, as our team will ask for this along with the model and serial number, which can usually be found on the base of your product.
Our guarantee does not confer any rights other than those expressly set out in the terms and condition and does not cover any claims for consequential loss or damage. This guarantee is offered as an additional benefit and does not affect your statutory rights as a consumer.
Are there any exclusions?
Yes, there are some exclusions to your guarantee. Please refer to the instruction book that came with your product.
At this time, we regret to inform you that we do not offer price matching services
Kettles
The dark colour is scale deposits caused by minerals in your water. Using a de-scaler solution which can be purchased from your local supermarket, will help resolve the problem. We recommend regular maintenance cleaning of the internal part of your kettle to remove the build-up caused by the minerals in the water.
Check that your warranty is registered and within date, then please return the product to the place of purchase with your receipt for a replacement or refund
Check that your warranty is registered and within date, then please return the product to the place of purchase with your receipt for a replacement or refund.
Remove hard scale using a proprietary descaling product suitable for stainless steel, glass, or plastic. Please follow the cleaning products instructions carefully in your user manual. Ensure that the electrical connections are completely dry before using your kettle
Small white spots appearing on the heating element and inside the kettle is due to scale build-up over time. Although scale is harmless, too much scale can slow the performance of your kettle. Descale your kettle regularly to pro long the life of your kettle.
All the plastics used in our kettles are BPA free.
Toasters
It is normal for some types of bread to cook unevenly. In order to achieve uniform browning, we recommend you wait a minimum of 30 seconds between each toasting, so that the control can be automatically reset.
On some 4 slice models you would need to latch the left hand slot 1st before engaging the right side. If this isnt the turn the toaster upside down and shake vigorously to dislodge any bread that may be stuck inside. If this doesn't resolve the problem, check that your product is within the warranty period and return it to the place of purchase along with your receipt.
Please turn toaster upside down and shake aggressively in case something is stuck, if that doesn’t work please take back to place of purchase with your receipt for a replacement or refund.
If toasting one slice only, you may need to adjust the Browning Control (2) to a slightly lower setting.You will notice a variation in toast colour on one side of a single slice. The side facing the inner wall of the Bread Slot (1) will be darker in colour than the side facing the outer wall of the bread slot.
When toasting two slices it is recommended they are of equal size and freshness.
All sorts of bread can be used as well as teacakes, small rolls etc. Slices should not however be so thick as to cause burning or jamming within the Bread Slots.
If the bread in your toaster becomes jammed, disconnect your toaster at the socket, allow it to cool, then remove the bread.
H W D mm
Motive 140 x 140 x 38
Signature 125 x 230 x 35
Venture 120 x 135 x 30
Illumination 122 x 155 x 38
Accents 147 x 148 x 36
Vector 135 x 140 x 35
Equip 135 x 140 x 35
Hive 135 x 140 x 35
Coffee Makers
If you have used the coffeemaker for quite some time and the temperature of the coffee decreases, we advise you to descale the coffeemaker.
The amount of ground coffee put in the filter influences the coffee strength. In general, 1 level coffee spoon is enough for 1 small cup of coffee. Depending on your strength preference, you can use less ground coffee for a milder taste and more ground coffee for a stronger taste. You can also adjust the brew strength for any volume of coffee using the strength elector depnding on your model - please refer to you instruction manual.
If you live in a hard water area, we recommend that your coffee maker is descaled at regular intervals, every 2-3 months. In moderately hard water, you should descale every 6 months.
If the water filters through more slowly than usual, it is a sign that descaling may be necessary, or the coffee maybe too tightly packed.
We recommend you use a proprietary liquid descaler which is especially made for coffee makers and plastic kettles. Follow the instructions on the bottle or sachet, and then operate the coffee maker with just water 3 times before making coffee. Do not use a kettle descaler unless the packet specifically states it is suitable for coffee makers. Note: The removable permanent filter should not be used during descaling.
Unplug your coffee maker and allow to cool. Do not immerse your coffee maker in liquid. Rinse the Water Reservoir occasionally with cold water. Do not use a cloth as any residue or lint may be left behind to clog the coffee maker. Remove the Removable Permanent Filter, discard any used coffee and wash. Extended soaking helps to remove coffee stains from the mesh. Wash the Glass Carafe, Carafe Lid, and Removable Filter Holder in warm soapy water. Rinse and dry all parts thoroughly. Refit the Removable Permanent Filter and Removable Filter Holder. Wipe all external surfaces, including the Hot Plate, with a damp cloth and dry thoroughly.
Espresso
Steam control dial is open - rotate the steam control dial so it is closed.
The coffee is not compact enough - tamp the coffee before inserting.
Wrong volume of coffee. Use the correct coffee filter: 1 person - smaller one cup filter, or 2 person for karger two cup filter
Air and steam are not getting into the milk. Use a pin to clean the Steam Wand nozzle and air holes in the Sleeve. Please refer to user manual for more information.
Please refer to you’re the user manual.
Use pipe cleaner or bottle brush type cleaner to clean the frother wand.
Steam Irons
Check the fuse. Try a new fuse with the same rating. Try a different appliance in the socket as it may be the socket that is at fault. Check that the auto shut off has not operated. Check the temperature control has not been set to MIN.
Adjust the temperature control to ensure the setting matches that recommended on the garment or refer to the “Temperature guide” section. Allow the iron to reach temperature and stabilise for 1-2 minutes if it has just been plugged in, or has just been woken up from auto shut off. Can also try to reset the thermostat by turning the temp dial all the way to minimum then back to maximum 10 times.
Ensure the temperature is set within the steam band and that the steam level is set to the correct level (refer to the “Temperature guide” section). Check that there is enough water in the tank. If the auto shut off feature has activated, wake up the iron and allow it to reach temperature before using steam. Perform a self clean to clear away limescale inside the iron (refer to “Self Clean” section)
Ensure the temperature is set within the steam band (refer to the “Temperature guide” section). The iron will not be hot enough to produce steam if the temperature is set too low. The steam level should be set lower if the temperature is set lower (refer to the “Temperature guide” section) to prevent it from dripping. If the auto shut off feature has activated, wake up the iron and allow it to reach temperature before using steam.
Try using a different socket. Ensure there are no other appliances being used on the same set of sockets as the iron.
If the iron is new, this is residue from manufacturing materials and will diminish after the first couple of uses. If the iron has been used many times, this could be a sign of limescale build-up and a self clean should be performed. Please see “Maintaining your iron” section.
Your iron has been designed to be used with tap water. If you live in a hard water area it is recommended to mix 50% distilled water and 50% tap water, or to use only distilled water to prevent scale building up and to prolong the lifetime of your iron. Do not put perfume, vinegar, starch, descaling agents, ironing aids or other chemicals in the water tank.
Yes, the Turbo Glide 2800W Steam Iron has a self-cleaning function. See page 6 of the instruction manual for more details.
Steam Generators
Self clean is required. Refer to the instruction booklet for self clean instructions. Descaling required if not a self clean iron - use a suitable descaler for plastic parts and follow instructions on the packet. The iron may also require new filter cartridges.
Always empty the water tank after use and store the iron in an upright position to avoid corrosion and damage to the soleplate.
Check that there is enough water in the tank. If the iron’s auto shut off feature has activated, wake up the iron and allow it to reach temperature before using steam.
Your iron has been designed to be used with tap water. If you live in a hard water area it is recommended to mix 50% distilled water and 50% tap water, or to use only distilled water to prevent scale building up and to prolong the lifetime of your iron. Do not put perfume, vinegar, starch, descaling agents, ironing aids or other chemicals in the water tank.
To prevent shine/print, avoid ironing over uneven surface or use a piece of cotton over the surface during ironing.
If the iron’s auto shut off feature has activated, wake up the iron and allow it to reach temperature before using steam. Ensure the correct 50/50 water combination is used.
To clean the soleplate of the iron, if man-made fibers have fused onto it, set the iron to the MAX position and glide it over a clean piece of cotton to draw off the deposits.
The SteamElite Plus Steam Generator has a auto-clean function! See page 10 of the instruction manual for more detail.
Soup Makers
The soup maker has been filled above the Max line the over fill sensor may have been triggered. Switch the unit off at the power source and remove the lid, wipe clean the over fill sensor, remove a little of the ingredients, replace the lid and continue cooking.
If the recipe method isn’t followed accurately and certain ingredients are added earlier than they should, the Soup Maker could cut out. Flour for example, will fall to the bottom and stick and burn to the heating plate if added too early in the recipe and or not pre-mixed prior to adding, this will then cause the thermostat to kick in and cut the machine as a safety feature. Switch the unit off at the power source and remove the lid, discard ingredients, clean your soup maker thoroughly and start again, ensuring the method is followed correctly.
Only use a non-scratch scourer when cleaning the base of your soup maker, which are available at most supermarkets.
Ensure all solid ingredients are diced into small portions to allow for the even cooking time.
Slow Cookers
The reasons can be loss of power, food cooked on wrong setting for cooking time, or glass lid not placed correctly on the Cooking Pot. Test the mains outlet with a socket known to be working. Check the cooking mode and timer settings and the recipe details. Check the Glass Lid is correctly placed and nothing is obstructing it.
- The cooking pot was under half full - Your Slow Cooker has been designed to thoroughly cook food in a filled Cooking Pot. If the Cooking Pot is only half-filled, check to see if the food is cooked 1 to 2 hours earlier than recipe time.
- Food cooked too long - Check the Mode and Timer settings and the recipe details.
- Cooking Pot placed in Base Unit while still very hot. '- Cooking time may be shortened. Check food is cooked 30 minutes to 1 hour earlier than the stated recipe time.
Turn off and unplug you Slow Cooker from the mains. Allow to cool completely before cleaning. Do not use metal utensils or abrasive cleaners when cleaning. Remove the Glass Lid and Cooking Pot and clean in hot soapy water. Wipe the sides of the main unit with a damp cloth. The Glass Lid and Cooking Pot are dishwasher safe. Don not immerse the base unit in water.
No! The pot is made of aluminium and the induction hob will not recognize it as it is non ferrous metal.
Please check the extra lead is plugged in - not the power lead (although this also needs to be plugged in also).
There isn't a set temperature for this - as the temperatures vary with each appliance.
Yes this is normal, please take caution as the outside of the product is metal, please use the handles.
Food Steamers
Never immerse the Main Unit, power cord or mains plug in water. Unplug from the wall socket and leave the appliance to cool completely before cleaning. Do not clean any part of the unit with abrasive cleaners e.g. scouring powders, pads, steel wool or bleach. Wipe out the Water Tank and, if required, follow the descaling instructions. Wash the Lid, Drip Tray, Steam Tray, Rice Tray, Containers, Small Pots and Dividing Wall in warm water and washing-up liquid. Rinse and dry. Alternatively, place in the dishwasher on cool or eco cycle. The Dividing Wall should be stored loose when not in use.
Occasionally, you may need to descaling the Water Tank. If you notice a slowing in steam production, or a lengthening of steaming times, you should descale the steaming system using a mild descaling solution and follow instructions for food steamers - Ventilate the room well. Alternatively, fill the water tank to the maximum level with boiling water. Add two sachets of descaling solution and fit the drip tray. Set the steaming time to 40 minutes for each element and press the start/pause button. Repeat as necessary, then wash the water tank and drip tray with hot soapy water and a dishcloth, rinse and dry. Do not attempt to move the Intellisteam until the water tank is completely cold.
This is normal over time, if ingredients such as carrots or tomatoes are used this will cause mild staining to the plastic.
You can cook a variety of foods from meat, fish, veg & even pasta.
Yes! The removable parts are dishwasher safe.
All our products are in full compliance with the REACh directive (directive 1907/2006/EC) for substances of veryhigh concern. This means they either have no BPA or very tiny traces that are within the directives allowed tolerances.
Breadmakers
This allows the Breadmaker to mix the ingredients in the most efficient manner possible. It also serves to keep the yeast from combining with the liquid before the dough has started to mix, which is essential on the time delay.
No. The Baking Pan and Kneading Blade must be washed by hand. Do not use scouring pads during cleaning.
The dough may be too heavy or dry. Also, the Kneading Blade or Baking Pan may not be inserted properly. Ingredients may have been added in the wrong order.
The bread may be rising too much. To reduce the rate of rising, reduce the amount of yeast and/or increase the amount of salt.
No, the yeast must be kept dry and put into the Baking Pan last above the flour, this is especially important when the delay timer is being used.
This hole has been created by the Kneading Blade. Sometimes this hole is larger than normal. This is because the dough has rested to the side of the blade after the second kneading cycle - normal with bread makers. You could position the dough evenly in the base of the pan.
Press and hold the Start/Stop button until a beep sounds, the display will revert back to the Basic programme, ready for the correct programme to be
selected.
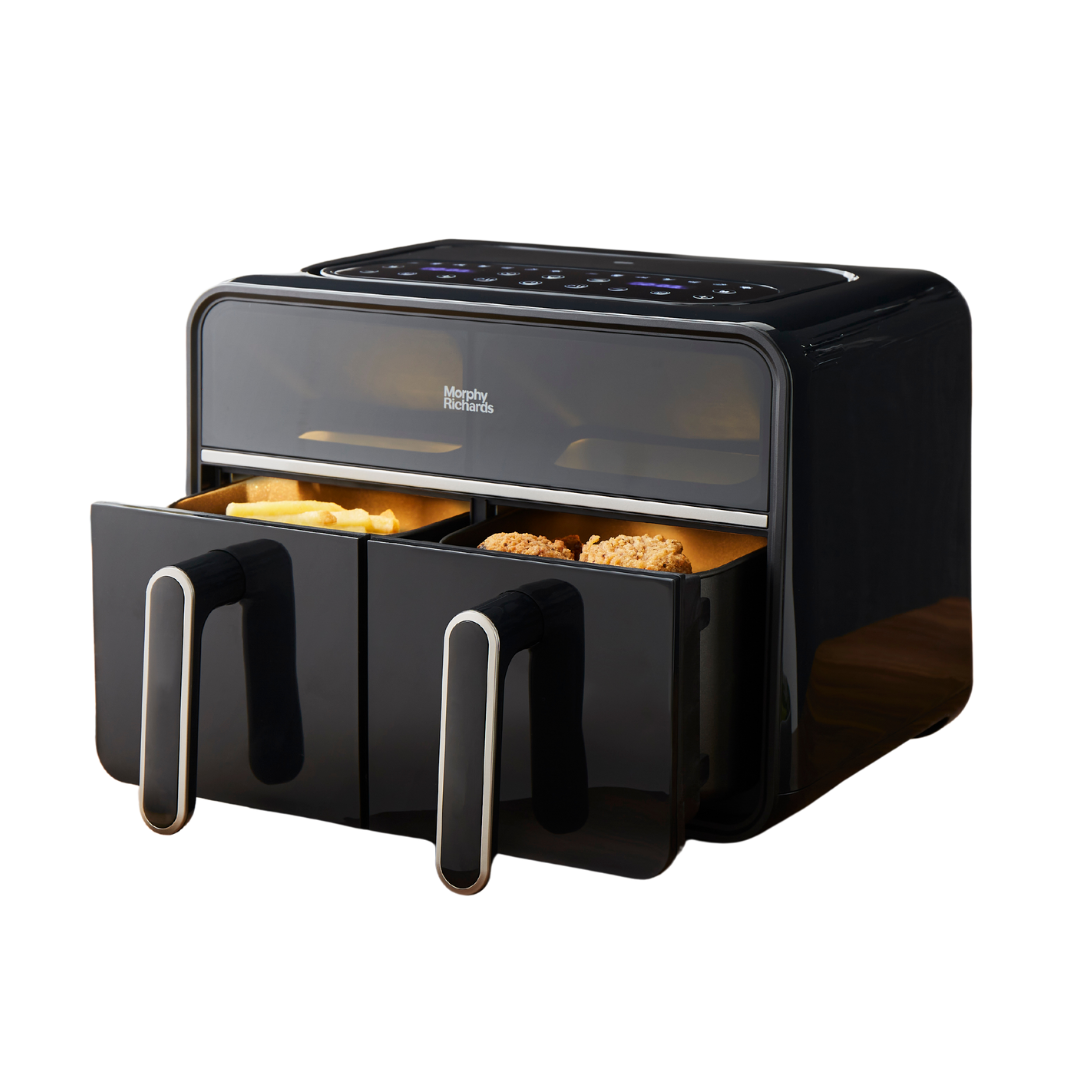
Fryers
The Health Fryer is not plugged in correctly. Plug the Health Fryer into the mains socket and switch on. A circuit breaker has been tripped. Check and reset the circuit breaker. The Drawer is not fully in place Push the Drawer into place.
Food capacity has been exceeded. Remove some of the food and fry again in separate batches.vThis will cook food more evenly and thoroughly. The temperature was set too low. Manually increase set temperature. The cooking time was not long enough. Manually increase set cooking time.
Chips were not rinsed adequately before cooking. Rinse chips thoroughly (to remove starch) and allow them to dry before cooking.
There may be a lack of oil or too much water. Ensure chips are dried after rinsing with water. Possibly add a little more oil to the chips before cooking. Chip size may be too large. Try cutting the potato intovsmaller pieces for a crispier result. You may be using the wrong type of potato. When making home-made chips/fries, the best type of potato to use are the floury varieties (King Edward or Maris Piper).
The food contained within may be quite greasy or fatty. Greasy or fatty food will emit fat/oil into the Drawer of the Health Fryer, and when heated it may emit a white smoke. Try to avoid cooking greasy/fatty foods in the Health Fryer.The white smoke does not affect the cooking process. The Drawer may still contain oil/fat from previous use. '- Ensure the Drawer is thoroughly cleaned after each use.
Too much food in the Basket. If there is too much food in the basket, please remove some of the food and retry. Pan not aligned correctly. Correctly align the Drawer with the grooves located on the inside of the Health Fryer housing.
Table Blenders
It is common for a new appliance to give off an unpleasant smell from the motor. This will stop after you have used the appliance a number of times.
During processing, you can remove the cap to add liquid and solid ingredients. Switch the blender off before adding solid ingredients.
Switch off the appliance and loosen the ingredients with a spatula or by adding some liquid.
The average the time for blending is about 30 - 60 seconds but it depends on the quantity and the ingredients
No, to avoid damage to the jug let the liquid cool down liquid below 40°C.
Before cleaning, unplug your Table Blender from the wall power socket. Always wash immediately after use for easy cleaning. Do not let food dry on the jug assembly as this will make cleaning difficult. Pour a little warm, soapy water into the Glass Jug (300ml), replace the Lid and turn the Speed Dial to the P position for a few seconds. Empty the Glass Jug and repeat the process. Rinse the Glass Jug and dry thoroughly. Wipe the Motor Base with a damp cloth and dry thoroughly. If liquids spills into the Motor Base , first unplug the Blender, then wipe with a dry cloth and dry thoroughly.
Hand Blenders
Ingredients cool to approximately 40°C before processing.
Ingredients should be cut into cubed pieces approximately 2 x 2 x 2 cm.
Grandually process hard ingredients, half filling the beaker.
You can use the chopper to chop ingredients such as herbs, onions, nuts, parmesan cheese, etc, as well as for preparing dips and pastes.
Yes, if you happen to process very hard ingredients such as bones and fruit with stones.
Always unplug the appliance from the mains socket before cleaning and maintenance. Handle the blades with care as they are sharp. Clean the Main Unit with a damp cloth and dry all the parts thoroughly. Never immerse the Main Unit in water or any other liquid. Blending Leg should not be immersed in water. Only immerse the Blade/Shroud. Whisk, Chopping Bowl, Blade/Shroud, Blender Beaker can be washed in hot soapy water. Be careful of sharp blade. Chopping Bowl Blending Lid & Whisk Gear Box should not be immersed in water, wash the inside of the Chopping Bowl Blending Lid by hand. Clean the Whisk Gear Box with a damp cloth & dry all parts thoroughly.
Hand Mixers
Ensure the Hand Mixer is un-plugged from the wall power socket before cleaning. Wipe over the outside surface of the Mixer with a dampened cloth and dry with a dry cloth. Wipe any excess food mixture from the power cord. Wash the Beaters and Dough Hooks in warm, soapy water and wipe dry. The Beaters and Dough Hooks are dishwasher safe. The Hand Mixer cannot be immersed in water or any other liquid.
Over time the blades weill lose their sharpness
If in constast use this will happen, you have to use in 10 second bursts.
Stand Mixers
Check that the appliance is plugged in at the wall power socket, that the Head is locked in position, if the bowl is too full the appliance will stop automatically. To restart the appliance, turn the Speed Dial to the 0 position and remove some of the ingredients. Allow the appliance to cool down for 20 minutes, then restart.